How to Perform a Sewer/Septic Line Cleanout for a Residential Home
Welcome to this essential guide on performing a sewer/septic line cleanout for a residential home. Whether you’re a seasoned professional or a newcomer in the construction industry, this article aims to provide a comprehensive yet straightforward approach to this vital maintenance task. Remember, regular cleanouts are key to preventing costly and unpleasant sewage backups!
Understanding the Basics
Before diving into the process, it’s important to understand the difference between a sewer and a septic system. A sewer line connects your home to a municipal wastewater system, while a septic system is a self-contained unit often used in rural areas without centralized sewer systems.
Tools and Safety Gear
You’ll need:
- A plumbing snake or auger
- A wrench set
- Rubber gloves
- Safety goggles
- Protective clothing
Always prioritize safety. Wear gloves and goggles to protect against bacteria and debris.
Step-by-Step Guide
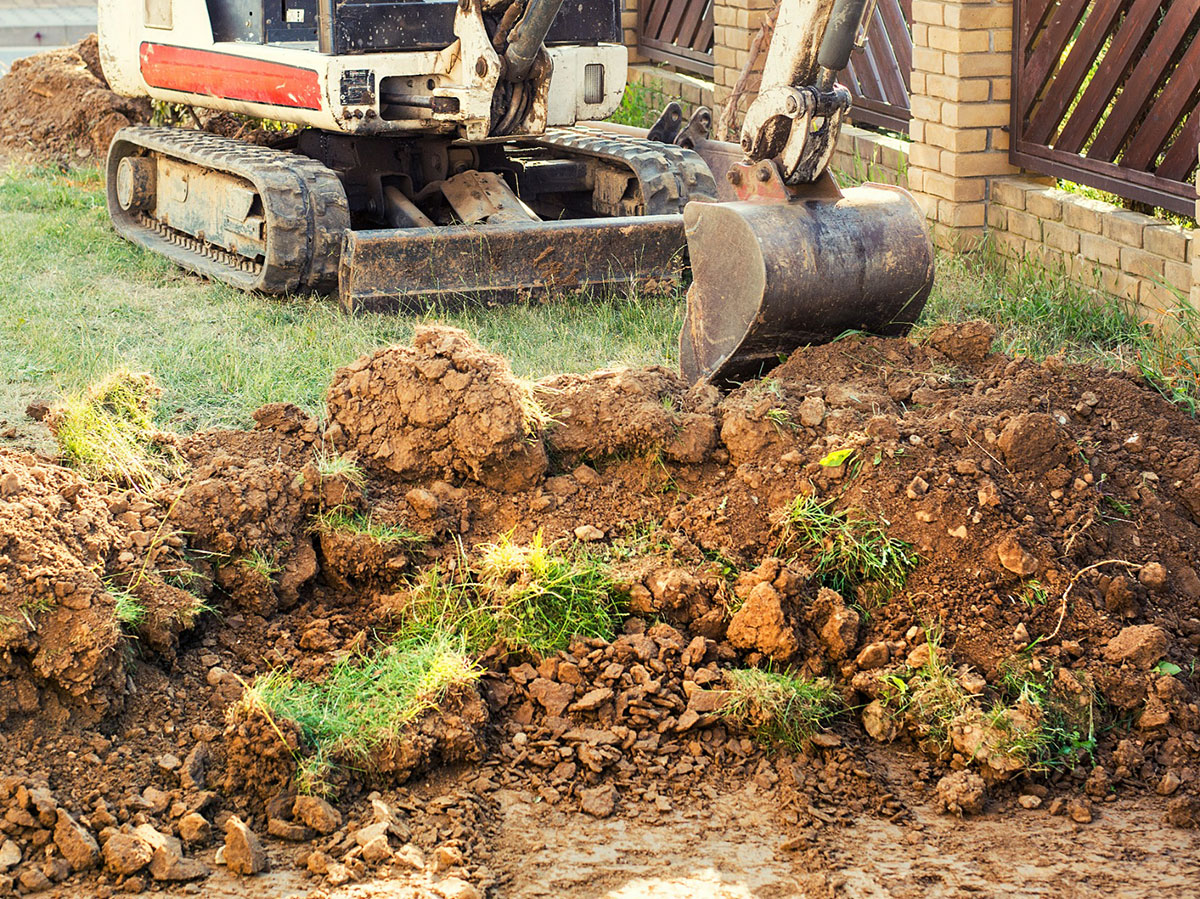
Step 1: Locate the Cleanout Pipe
This pipe is usually found outside, near the foundation of your home. It’s typically a 3 to 4-inch diameter pipe protruding from the ground, capped with a screw-on or threaded lid.
Step 2: Remove the Cap
Use a wrench to carefully remove the cap. Be prepared for water to flow out if there’s a backup. Do this slowly to reduce pressure.
Step 3: Inspect the Cleanout
Before proceeding, inspect the cleanout for any visible blockage near the opening. Sometimes, simple issues can be resolved at this stage.
Step 4: Using the Plumbing Snake
Feed the snake into the pipe. You’ll feel resistance when it hits a blockage. Rotate the snake against the blockage until it clears. This might take several attempts.
Step 5: Flushing the Line
Once the blockage is cleared, flush the line with water. This helps remove any remaining debris. If the water doesn’t drain, there might be an additional blockage.
Step 6: Replacing the Cap
After clearing the line and ensuring it’s flowing freely, replace the cap tightly. This prevents debris from entering and seals the system.
Tips and Tricks
- Regular Maintenance: Perform cleanouts regularly to prevent major blockages.
- Know Your Limits: If you can’t clear the blockage, it’s time to call a professional. Some blockages are too severe for standard tools.
- Preventive Measures: Avoid flushing non-degradable items. Educate your household about what shouldn’t go down the drains.
Understanding Septic Systems
For those dealing with septic systems, the process is slightly different. Septic systems have a tank and a leach field. Regular pumping (every 3-5 years) is crucial.
Septic System Cleanout Steps
- Locate Your Tank: Usually, there’s a lid on the ground marking its location.
- Inspect and Pump: Regular inspection and pumping by professionals are necessary.
- Maintain the Leach Field: Keep it clear of heavy objects and monitor for soggy ground or foul odors, which indicate a problem.
Conclusion
Performing a sewer/septic line cleanout is an essential task in residential home maintenance. Regular cleanouts and understanding the specifics of your system, whether it’s sewer or septic, can save you from costly and unpleasant issues in the future. Remember, when in doubt, always consult a professional. Safe and effective maintenance is key to a healthy home environment!
Recommended articles
Starting a Mini Excavator Business
Rough-In Plumbing Basics for Construction Professionals
Rocking the Gravel World: The Unsung Hero of Construction
Stop losing profit.
Build bids in minutes and track every dime with ProfitDig.
Start Risk-Free30-Day Money Back Guarantee